√ For the past few days I've been working on "re-shooting" all my pieces with a white background. I've fought against the same background for a long time, but I'm finally giving in because I think it will get more exposure for the items. So I read a few articles, looked at a few photos, studied my camera and found the best place in the house to "create" my studio.
At first I wasn't sure I could pull it off with two kids around needing my attention. However, I soon realized that my son could entertain himself most of the time, and my daughter could sit in her high-chair and watch me while working to grab, hold and put her pacifier in her mouth, essentially entertaining herself as well.
Setting up was the hardest part of the photo shoot because I had to find items to help reflect light as well as create a backdrop high enough to shoot from various angles creating an illusion of calm within the image.
Here are some "set shots":
 I needed to put up a white board to reflect the light back onto the subject.
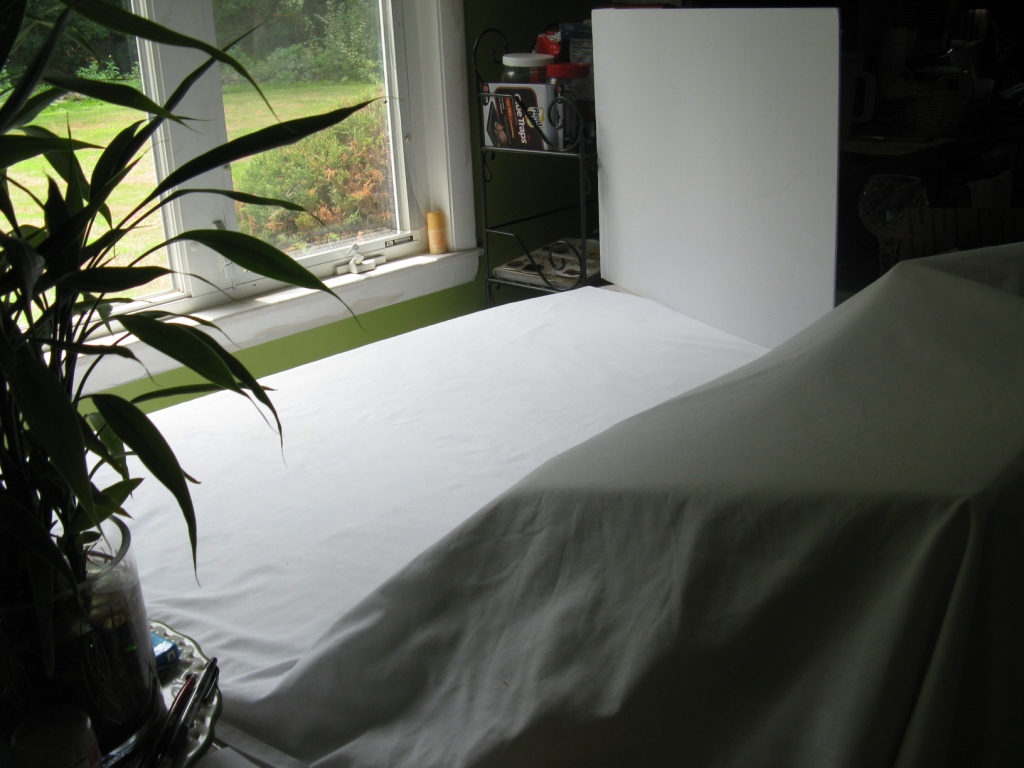 I pushed the table as close to the window as possible still leaving space for me to maneuver
 The boxes aligned in the back needed to give enough height for a good backdrop
 Of course, an ironed white sheet created the base and reflective surface to work on.
Here are the resulting photos:


Not too bad, huh?
I'm happy with them, but as with everything I can see where they can be improved. . . all in due time! In case you're wondering, I got some great information from Handmadeology, Etsy Blog, and by looking at a lot of photos!
Coming next. . . new items and patterns!!!